

 16 October, 2026
 An effective exhibitor services checklist does more than list booth furniture and electrical needs. It assigns every requirement to one of three accountable parties: the event organizer, the venue, or the individual exhibitor. Each item should also have a confirmation method and a deadline.
That structure prevents common gaps, such as an exhibitor assuming the organizer ordered power, the organizer assuming the venue approved a floor plan, or a sponsor arriving without the correct signage. Use the process below to coordinate an exhibition or trade show from initial planning through teardown.
Key Takeaways
- Establish clear ownership for each checklist item among the organizer, venue, and exhibitor.
- Utilize a master tracker to manage deadlines and confirmations effectively.
- Ensure thorough communication of venue capabilities and requirements to all exhibitors.
- Conduct a detailed inspection of booths before the event opens to prevent issues.
- Confirm all logistical details, including access and catering, well in advance of the show.
Start With Three Owners: Organizer, Venue, and Exhibitor
The organizer owns the overall experience. That includes the exhibitor manual, deadlines, floor-plan approval, exhibitor communications, sponsor commitments, registration, and the escalation process. The organizer should never assume that a service is included simply because it is common at other events.
The venue confirms what its spaces, staff, equipment, suppliers, and operating procedures can support. The exhibitor provides accurate booth information, artwork, equipment details, delivery information, staff contacts, and any special requirements by the stated deadline.
| Checklist item | Primary owner | Confirmation needed | Suggested deadline |
|---|---|---|---|
| Booth assignment and footprint | Organizer and venue | Approved floor plan and booth list | Before exhibitor orders open |
| Power, lighting, furniture, and AV | Exhibitor, organizer, and venue | Written service order and technical review | Before the final order deadline |
| Signage and artwork | Exhibitor | File approval, dimensions, and placement | Before production begins |
| Move-in and delivery access | Organizer and venue | Arrival window, route, credentials, and delivery instructions | Distributed before move-in |
| Catering and dietary needs | Organizer and exhibitor | Menu, quantity, service time, and dietary notes | Before the final headcount |
| Show-day support | Organizer and venue | Named contacts, response process, and escalation list | Reviewed at the final briefing |
| Teardown and returns | Exhibitor and organizer | Removal instructions, collection times, and sign-off | Confirmed before show close |
Build the Master Exhibitor Services Tracker

A shared spreadsheet or event platform should be the operational record for the show. Create one row per exhibitor and separate columns for items that need approval, payment, delivery, or technical review.
- Company name, booth number, primary contact, and onsite contact.
- Booth type, footprint, sponsor level, and included benefits.
- Power, lighting, AV, furniture, flooring, signage, internet, and other requested services.
- Logo and artwork status, document status, insurance status, and supplier information.
- Dietary requirements, catering orders, delivery details, and accessibility needs.
- Order deadline, payment status, approval status, unresolved questions, and escalation owner.
Use simple status labels such as Not requested, Submitted, Needs clarification, Approved, Ordered, Installed, and Closed. Add a final column for evidence supporting each status, such as an email, approved drawing, service order, invoice, or signed inspection note.
Phase 1: Define the Show and Booth Requirements
Start with the event brief before collecting individual orders. Record the expected exhibitor count, booth categories, sponsor commitments, program areas, attendee profile, show hours, networking requirements, and any demonstrations or presentations.
Then define what exhibitors can request. A basic service list may include booth space, power, lighting, furniture, flooring, signage, internet, screens, microphones, staging, cleaning, waste removal, catering, storage, and technical support. These are planning categories, not automatic venue inclusions.
For each category, identify whether it is included, optional, supplied by an approved vendor, supplied by the exhibitor, or still under review. This distinction should appear in the exhibitor kit so participants know what to order and what not to duplicate.
Create a Floor Plan That Supports Exhibitors and Attendees
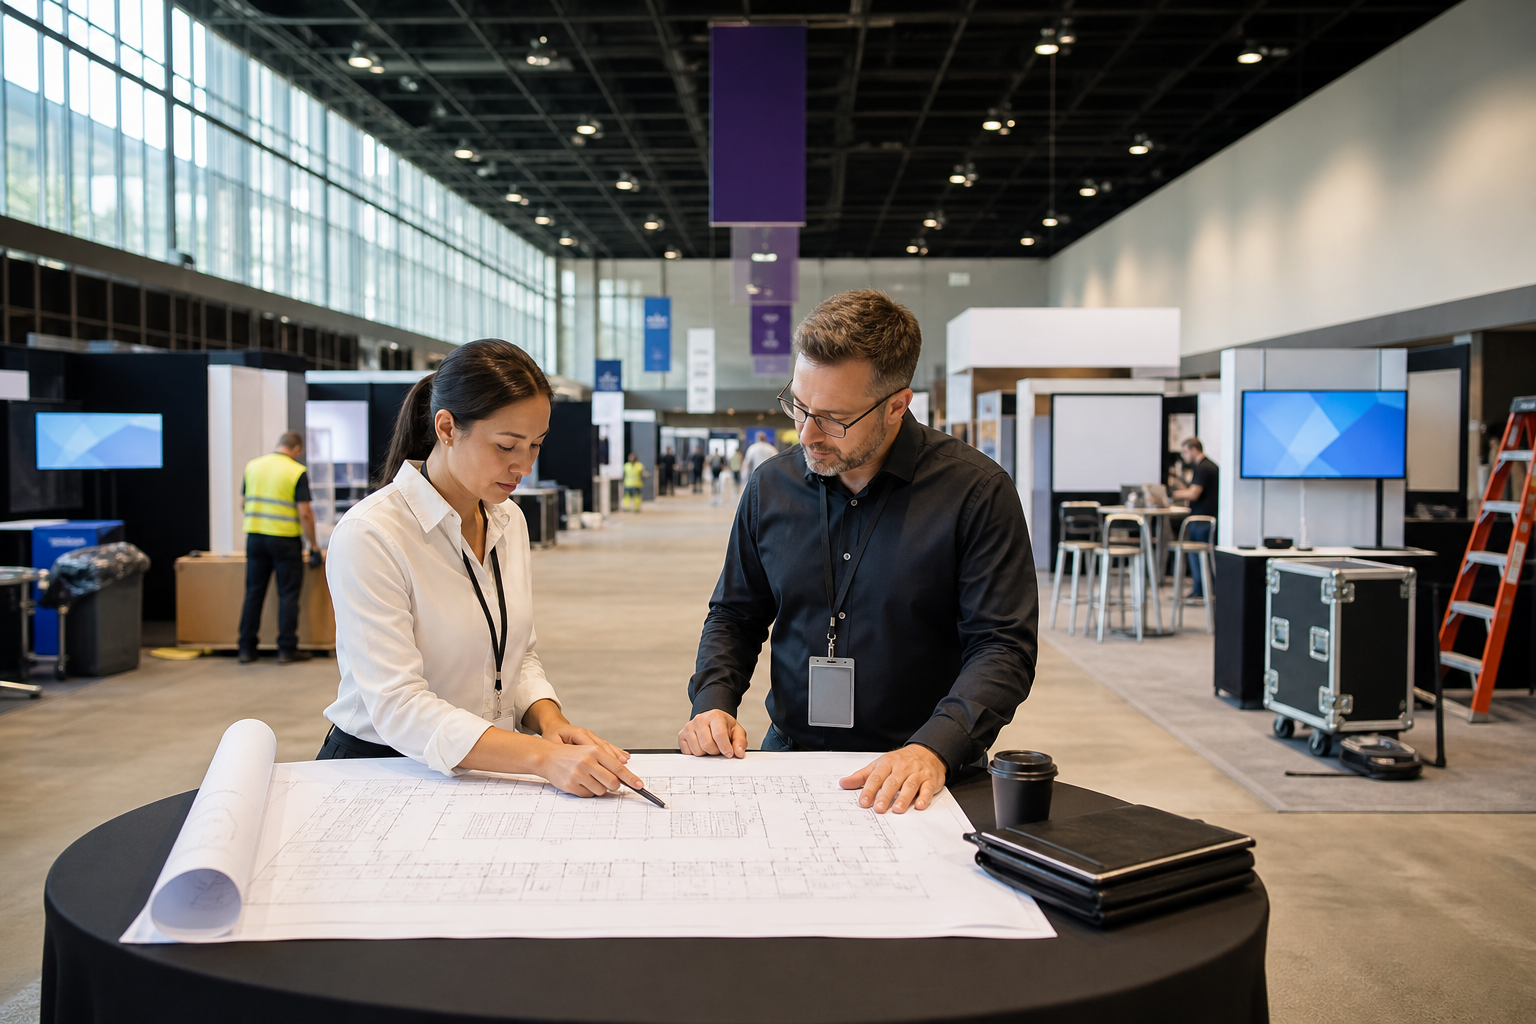
An exhibitor floor plan should show more than booth numbers. Map exhibitor booths, sponsor activations, registration, networking areas, catering, presentation zones, breakout spaces, attendee gathering areas, staff work points, and operational areas together.
Review the plan from the attendee’s perspective. Check whether registration queues block booth entrances, whether high-value sponsor placements are visible, and whether food or networking areas draw traffic away from quieter exhibitors. Keep aisles legible, maintain required access routes, and avoid placing demonstrations where sound or queues will disrupt presentations.
Give every version a date and revision number. A floor plan that changes after exhibitors order furniture or signage can create costly rework, so record who approved each revision and notify affected exhibitors directly.
Confirm Booth Infrastructure and Utilities
For every booth, confirm the footprint, orientation, back-wall or open-side requirements, flooring, furniture, lighting, signage, and display structures. If an exhibitor has a large product, raised platform, hanging element, or demonstration unit, request dimensions and operating details before approving the layout.
Power deserves its own review. Ask what equipment will run, where it will be placed, when it needs power, and whether it operates continuously or intermittently. Do not assume that a nearby outlet, extension cable, power drop, amperage, or distribution method is available. Confirm the technical specification and supplier responsibility in writing.
The same principle applies to internet, waste, storage, cleaning, furniture, flooring, and signage. Ask who supplies each item, how it is ordered, where it is installed, and who handles changes on show day. The venue’s corporate-events material identifies exhibitor support considerations such as power drops, risers, floor plans, and day-of technical adjustments, but your event team should still confirm exact requirements and inclusions for the event.
Plan AV, Staging, and Technical Support
Separate organizer-level production from exhibitor-level requirements. Organizer production may include the main stage, presentation screens, microphones, show music, lighting scenes, recording, and cue management. Exhibitor requirements may include a monitor, product video, demonstration audio, presentation playback, lighting, or a small presentation area.
For each requirement, document the equipment, connection type, content format, operator, setup time, rehearsal window, and onsite contact. Collect presentation files early enough to test them rather than relying on a presenter’s laptop at the last minute.
Prepare a technical escalation list with the organizer, venue contact, AV lead, exhibitor contact, and backup contact. A venue may provide professional AV systems, lighting, staging, and technical support, but the precise equipment, staffing, hours, and service boundaries must be confirmed for the event.
Phase 2: Send the Exhibitor Kit and Collect Requirements
An exhibitor manual, exhibitor kit, or service portal should answer the questions participants have before they place orders. Keep the instructions practical and make the final deadline for each form impossible to miss.
- Event dates, show hours, booth number, footprint, and included benefits.
- Organizer, venue, technical, registration, and emergency contacts.
- Move-in and teardown windows, arrival instructions, credentials, and delivery procedures.
- Forms for power, AV, furniture, lighting, signage, internet, catering, and special equipment.
- Logo specifications, artwork deadlines, approval process, and placement rules.
- Dietary information, accessibility requests, insurance documents, and approved supplier details where applicable.
- Billing instructions, payment deadlines, cancellation rules, and the process for late requests.
Tell exhibitors which fields are mandatory and which are optional. Require a named onsite contact, even when the company has a separate marketing or procurement contact.
Track Forms, Documents, and Approvals
Document control is part of exhibitor services. Create a folder or record for each exhibitor containing the service form, approved floor-plan reference, artwork, invoice or payment record, delivery details, insurance documentation if required, and written answers to special requests.
Use one source of truth for versions. Label files with the exhibitor name, document type, date, and revision number. Do not let an outdated logo, superseded booth layout, or preliminary power request remain in circulation.
Requirements vary by event, venue, equipment, and supplier. Confirm whether insurance, fire-safety review, structural approval, electrical review, or supplier authorization applies instead of copying rules from another show.
Phase 3: Complete Final Confirmations Before Move-In
Run a final reconciliation against the master tracker. Every booth should have a confirmed location, service status, contact, and arrival plan. Highlight unresolved items rather than hiding them in email threads.
Ask the venue or relevant service provider to confirm the final floor plan, utility requests, equipment orders, installation assumptions, technical contacts, and restrictions that affect the exhibitor experience. If the venue offers a virtual tour, use it to visualize room relationships and identify questions before physical setup.
Distribute a short final brief to exhibitors. Include their booth number, approved services, move-in information, onsite contact, show hours, rules for changes, and the deadline for urgent questions.
Confirm Arrival, Parking, Deliveries, and Access
Access instructions should cover staff arrival, exhibitor arrival, deliveries, credentials, parking, accessibility, and any vehicle or freight procedures that apply. Do not publish a loading-dock route, storage arrangement, delivery window, or freight policy until the venue confirms it for the specific event.
For a GTA event, location can affect the arrival plan. Mississauga Convention Centre is at 75 Derry Road West, near major highways and Toronto Pearson International Airport, and has approximately 700 on-site parking spaces. Use those verified location details when planning attendee communications, but confirm event-day access instructions separately.
Phase 4: Use a Move-In Checklist
Assign a person to inspect each booth before the show opens. Compare the installed setup with the approved floor plan and service order, then record exceptions with a photo, time, owner, and expected resolution.
- Booth location, dimensions, orientation, flooring, furniture, and signage match the approved plan.
- Power and equipment are present, safely positioned, and functioning as requested.
- Cables are routed safely and do not obstruct aisles or accessible paths.
- Displays, product samples, risers, lighting, and demonstrations are stable and ready.
- AV content, screens, playback, microphones, and presentations have been tested.
- Exhibitor contacts know how to report an urgent issue during the show.
- Any floor-plan deviation has been reviewed by the organizer and venue before doors open.
Phase 5: Manage Services During Show Days
Set up one service desk, phone number, or messaging channel for exhibitor issues. The organizer should triage the request, identify whether it belongs to the venue, a supplier, or the exhibitor, and record the expected resolution time.
Monitor technical requests, booth changes, sponsor activations, catering, registration queues, replenishment, and room transitions throughout the day. A brief morning huddle between the organizer and venue team can surface schedule changes, VIP movements, demonstrations, and unresolved setup items.
Keep a simple incident log. Record the booth, issue, time reported, assigned owner, action taken, and closure time.
Phase 6: Plan Teardown and Closeout
Teardown begins with clear instructions, not with the final announcement. Tell exhibitors when they may dismantle displays, what they must remove, how equipment is returned, and what happens to waste, packaging, abandoned materials, or rented furniture.
Before the venue team closes the event, confirm that exhibitor equipment has been collected, rented items are accounted for, damage or missing items are documented, and supplier departures are recorded. Follow the event’s confirmed procedures for storage, freight, cleaning, security, and final billing.
Within a few days, close the tracker. Mark each issue resolved, save final invoices and approvals, record supplier performance, and note changes for the next exhibitor kit.
Copy-Ready Exhibitor Services Checklist
- Ownership: Assign an organizer, venue, supplier, or exhibitor to every requirement.
- Floor plan: Approve booth locations, aisles, registration, sponsor activations, catering, networking, presentations, and breakout areas.
- Booth services: Confirm footprint, flooring, furniture, signage, lighting, power, internet, storage, cleaning, and waste responsibilities.
- AV and production: Collect equipment lists, content formats, connection details, rehearsal times, operators, and escalation contacts.
- Documents: Track service forms, artwork, logos, insurance, supplier details, dietary notes, invoices, and approvals.
- Access: Distribute move-in, delivery, parking, credentials, accessibility, and teardown instructions.
- Final review: Reconcile every booth against the approved plan and obtain written confirmation for unresolved technical or service items.
- Move-in: Inspect power, equipment, signage, furniture, cables, AV, and floor-plan changes before opening.
- Show days: Maintain a service desk, issue log, technical escalation process, and regular organizer-venue check-ins.
- Closeout: Confirm returns, removal, waste handling, damage notes, final invoices, and post-event improvements.
Applying the Checklist at a Mississauga Event Venue
Venue selection affects how much coordination the organizer must manage. Mississauga Convention Centre hosts exhibitions and trade shows and offers seven halls of approximately 4,250 square feet each, with total capacity exceeding 2,200 guests. That scale can support different show formats, but the correct room combination and booth arrangement still need review against the event plan.
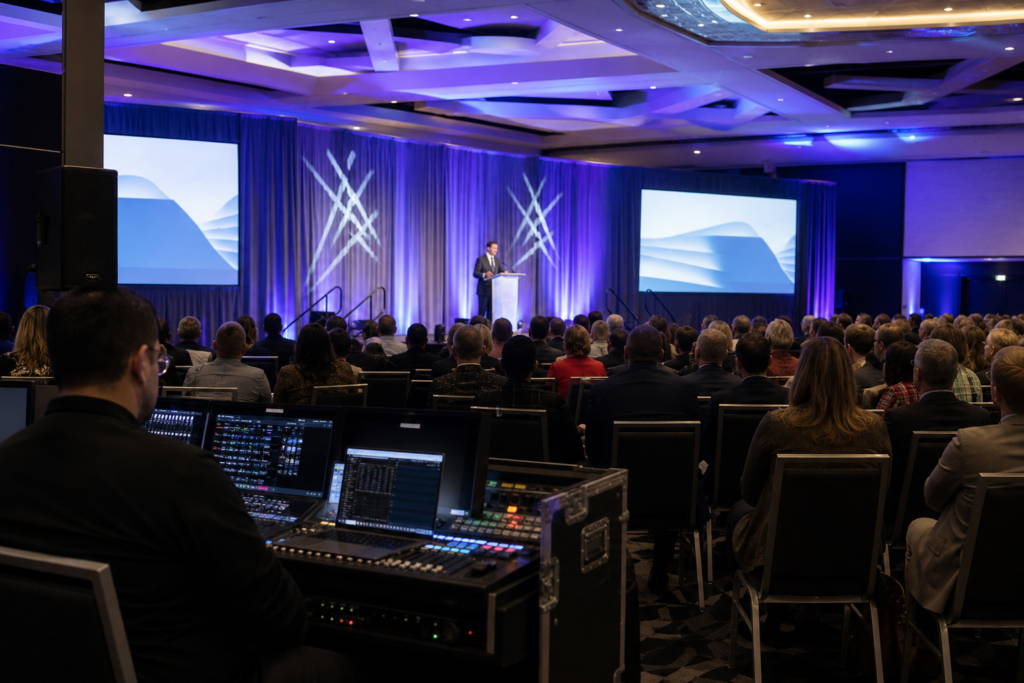
The venue also provides in-house AV systems, lighting, staging, and technical support. For an organizer, that can simplify the contact structure for presentations, demonstrations, and show control, provided the equipment list, staffing, timing, and pricing are confirmed in the event quote or service order.
Flexible conference areas can accommodate registration desks, sponsor activations, exhibitor booths, networking sessions, attendee gathering areas, presentations, workshops, panels, and training programs. Use those capabilities as planning questions, not assumptions.
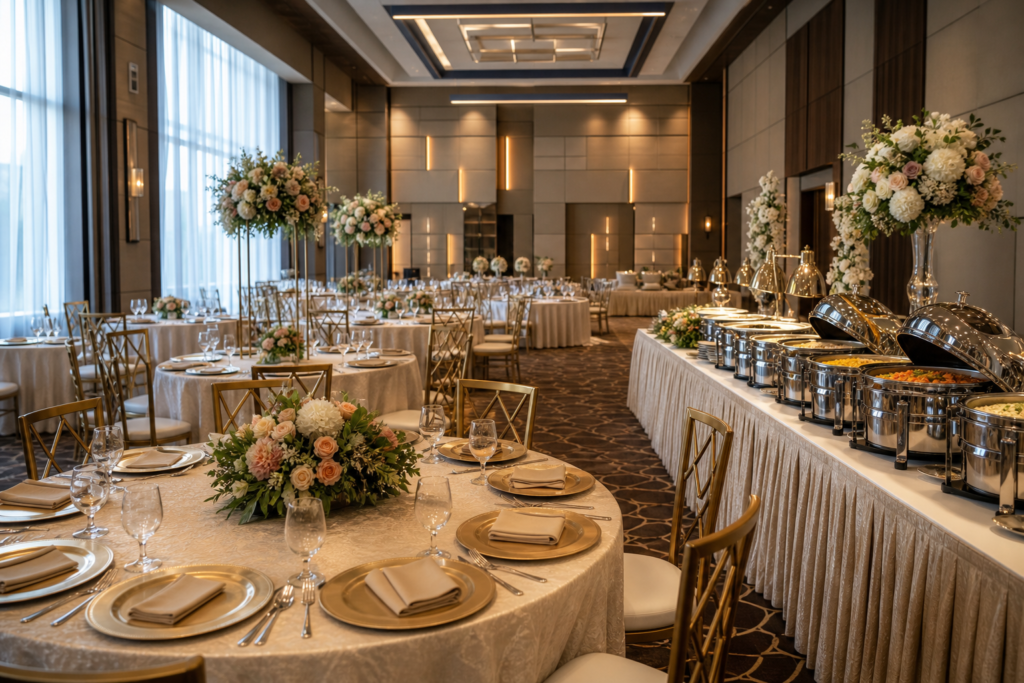
In-house catering includes South Asian, Pakistani Halal, Middle Eastern, Sri Lankan, Caribbean, and Continental options. Menu availability, service style, quantities, and dietary handling should be confirmed for the event.
Located at 75 Derry Road West, the venue is near major highways and Toronto Pearson International Airport and has approximately 700 on-site parking spaces. The event’s confirmed parking and delivery instructions should control.
Frequently Asked Questions
When should exhibitors submit power and AV requirements?
Set the deadline early enough for technical review, ordering, floor-plan updates, and corrections. The exact date depends on the event and supplier. Include it in the exhibitor kit and treat late requests as exceptions requiring written confirmation.
Who is responsible for confirming booth services at a trade show?
The exhibitor should submit accurate requirements, the organizer should collect and track them, and the venue or approved supplier should confirm what can be provided. Responsibility is complete only when the service, cost where applicable, installation point, and timing are recorded.
What should an exhibitor floor plan include?
Include booth numbers and footprints, aisles, registration, sponsor activations, networking, catering, presentation areas, breakout spaces, attendee gathering areas, staff points, and operational zones. Add revision dates and approval status.
How do I confirm whether a venue provides power, furniture, internet, or technical support?
Ask for a written event-specific service list or quote. Confirm what is included, what must be ordered separately, who supplies it, the technical specifications, setup timing, change process, and day-of contact.
What documents should be included in an exhibitor service kit?
Include the event schedule, booth assignment, floor plan, service forms, deadlines, artwork specifications, move-in and teardown instructions, contacts, billing information, delivery guidance, and applicable insurance, supplier, accessibility, or dietary forms.
What should be checked during booth move-in before the show opens?
Check the booth location, dimensions, signage, furniture, flooring, lighting, power, AV, cable safety, display stability, product placement, and approved floor-plan compliance. Record each issue, assign an owner, and confirm resolution before attendees enter.
Confirm Every Service Before Show Day
The strongest exhibitor services checklist is a responsibility system, not a loose list of equipment. Assign each requirement to the organizer, venue, supplier, or exhibitor, then add a deadline, confirmation, and escalation route.
Start with the floor plan and master tracker, collect requirements through a clear exhibitor kit, verify infrastructure and documents before move-in, and inspect each booth before the show opens. Keep venue capabilities separate from confirmed event-specific inclusions.
For a trade show or exhibition in the GTA, review your booth, floor-plan, AV, catering, access, and technical requirements with Mississauga Convention Centre and request an event-specific plan or quote.