

 05 September, 2026
 How Can You Apply Trade Show Floor Plan Best Practices?
A strong trade show floor plan does more than show where booths go. It connects attendee movement with exhibitor visibility, registration, demonstrations, technical services, accessibility, and setup logistics. Treating the plan as both a navigation system and an operational document helps you identify bottlenecks, dead zones, and coordination problems before event day.
The most effective approach is to establish circulation first, then place destinations and exhibitors around it. From there, review sightlines, accessibility, AV, catering, load-in, parking, and venue-specific requirements with the event team and venue.
1. Start With the Event’s Goals and Constraints
Before drawing booth rectangles, define what the floor plan must accomplish. A lead-generation event may need visible demonstrations and comfortable conversation space. An exhibition may need stronger sightlines and room for equipment. A conference with an exhibition component may need to move attendees between sessions, booths, food service, and networking areas at predictable times.
Record the constraints too: expected attendance, exhibitor requirements, booth formats, demonstrations, stages, catering, registration, accessibility needs, setup windows, and parallel activities. This prevents the common mistake of maximizing sellable space while leaving too little room for people to move, pause, queue, or engage.
Use these goals to judge every location. A booth near an entrance is not automatically valuable, and an open area is not automatically useful if it interrupts the route between important destinations. The trade show exhibit planning guidance can help connect layout choices with objectives, demonstrations, staffing, and visitor engagement.
2. Map Entrances, Exits, and Primary Traffic Flow First

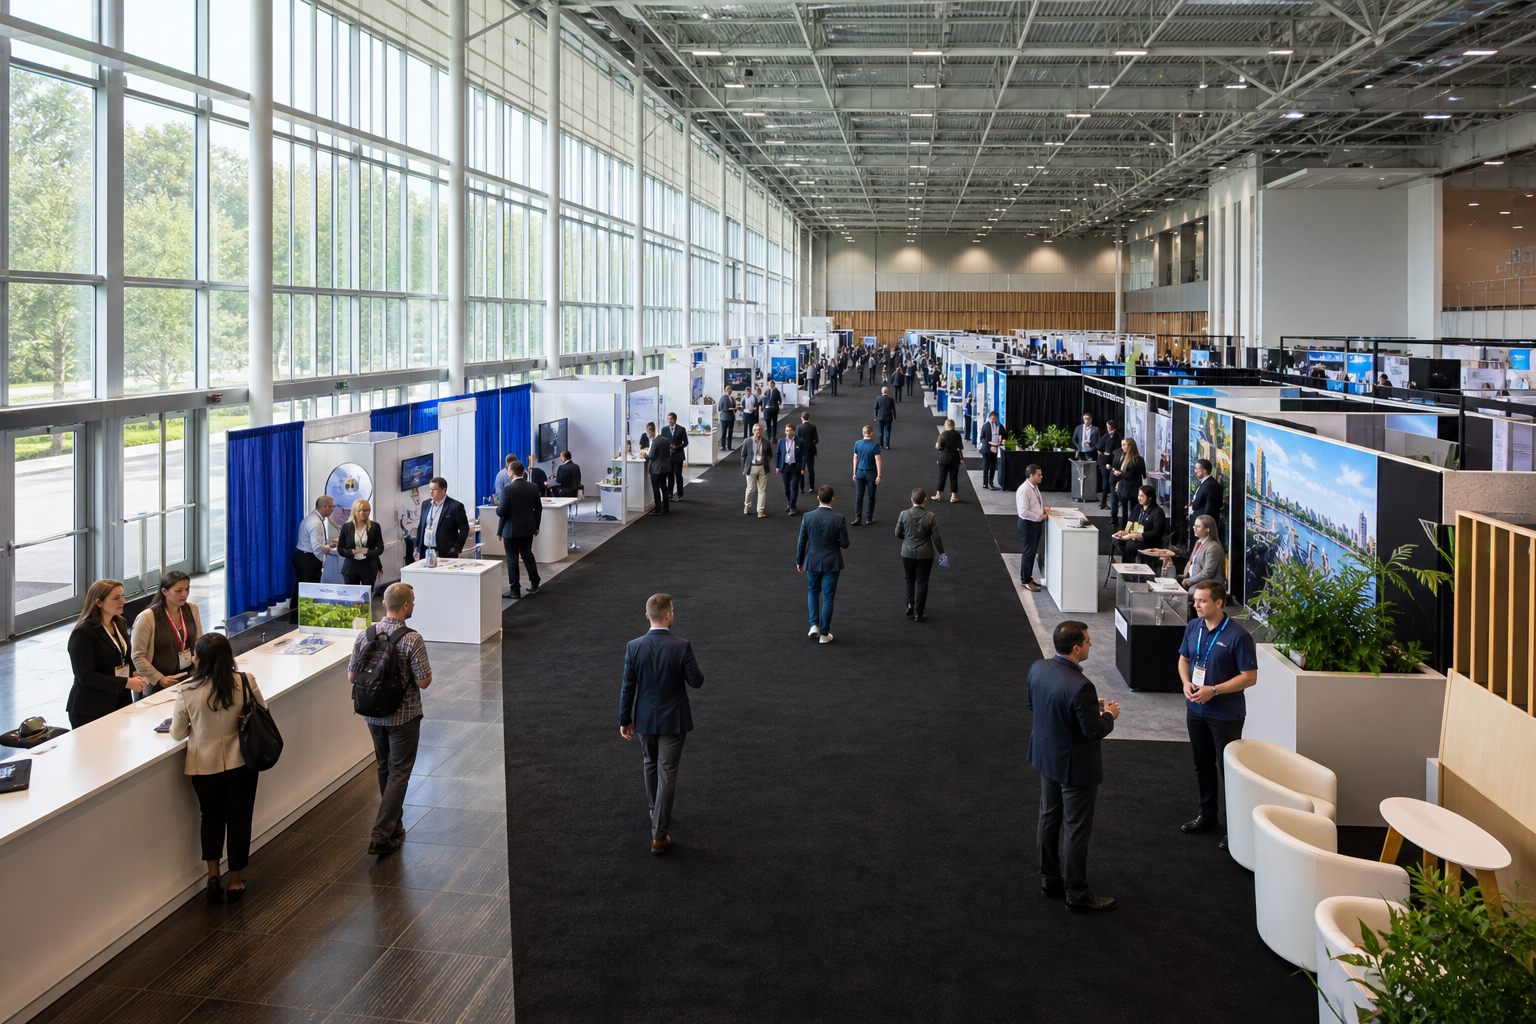
Start with the attendee route rather than the exhibitor inventory. Mark the entrance, registration area, exits, main aisles, restrooms, food stations, networking spaces, stages, and other features likely to attract concentrated attention. Then trace the route a first-time visitor is likely to take from arrival through discovery, engagement, and departure.
Look for:
- Bottlenecks: places where registration queues, popular demonstrations, food service, or narrow route choices could slow movement.
- Dead zones: areas visitors can bypass because they are out of sight or disconnected from the main route.
- Confusing intersections: points where attendees cannot tell which aisle leads to registration, sessions, restrooms, or other destinations.
Do not finalize aisle dimensions or emergency routes from a generic diagram. Confirm the venue’s requirements and the appropriate configuration with the venue team. Cvent’s trade show floor-plan considerations provides useful context for this initial mapping exercise.
3. Place Registration and High-Demand Destinations Carefully
Registration should be easy to find, but queues should not block the first line of booths or the main entrance. Allow room for check-in, questions, badges, bags, and late arrivals without forcing every visitor into the same narrow path.
The same principle applies to stages, demonstrations, food stations, restrooms, lounges, and networking areas. These features can distribute movement, but they can also create congestion when placed at a major intersection or directly in front of booth entrances. Consider timing: a food station may draw a crowd during a break, while a demonstration may create repeated surges throughout the day.
Test the route at busy moments, not only when the hall is empty. Ask where people will wait, whether they can see the destination before reaching it, and whether a queue would obstruct a booth, aisle, exit, or service route.
4. Use Exhibitor Placement to Balance Visibility and Adjacency
Exhibitor placement should reflect the event’s purpose, audience, and confirmed exhibitor needs. Grouping related organizations can make discovery easier, while complementary exhibitors may support a logical visitor journey. However, overly strict categories can make the floor repetitive or steer all movement toward one section.
Create three lists:
- Must-be-near relationships: exhibitors or features that depend on shared equipment, related programming, or a defined visitor sequence.
- Should-be-separated relationships: activities that create sound, queues, equipment movement, or competing traffic demands.
- Visibility priorities: exhibitors, sponsors, demonstrations, or information points that need clear sightlines without dominating every intersection.
Distribute attention across the plan. If every attraction is at the entrance, the rest of the floor may become an afterthought. If prominent exhibitors are concentrated in one corner, visitors may have little reason to explore elsewhere. VenueSight’s floor-plan design discussion offers useful context on traffic flow, adjacency, and exhibitor placement.
5. Protect Sightlines, Wayfinding, and Booth Visibility
Visitors should understand the event quickly from the entrance and major intersections. Use consistent booth numbers, readable directional signs, clear destination labels, and recognizable landmarks. A map should reinforce what attendees can already understand from the physical layout.
Review sightlines from several approaches. Can visitors see signs over booth structures? Are demonstrations hidden behind displays? Does a large feature block the next decision point? Are less prominent exhibitors visible from a main aisle?
Booth activity can extend beyond its footprint. Demonstration tables, screens, lighting, and staff positions may narrow an aisle. Confirm how each exhibitor intends to use its space before approving the map. See the guidance on arranging a trade show booth for better traffic for booth-level planning.
6. Build Accessibility and Emergency Access Into the Draft
Accessibility should be considered while the plan is being drawn. Registration, information points, demonstrations, food service, restrooms, and networking areas should be approachable by attendees with different mobility, navigation, and communication needs.
Check whether displays, furniture, queue lines, cables, signs, and promotional activity could obstruct routes. Confirm that exits and emergency access remain clear, and ask the venue to verify applicable clearances, procedures, and approval steps for the specific hall and configuration. The event venue site-visit checklist can help organize those questions.
7. Coordinate AV, Lighting, Staging, Power, and Service Areas
A booth map becomes an event plan only when it includes the operational layer. Mark demonstrations, stages, screens, lighting positions, technical control points, catering service, storage, staff areas, and equipment requiring power or technical attention. A visually attractive arrangement can still fail if cables cross busy routes, a screen faces glare, or a demonstration competes with nearby sound.
Ask exhibitors for a concise technical summary covering equipment, power, audio, displays, staffing, setup time, and service access. Consolidate the answers before approval so the venue and production team can identify conflicts early.
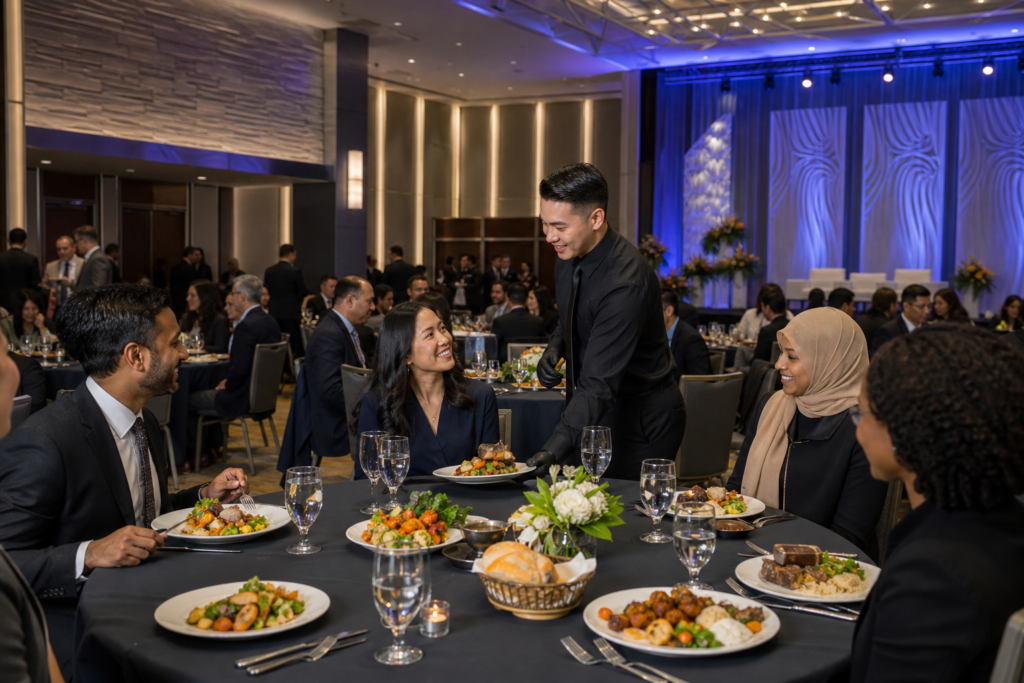
Mississauga Convention Centre states that it provides in-house audiovisual systems, lighting, staging, technical support, and catering across South Asian, Pakistani Halal, Middle Eastern, Sri Lankan, Caribbean, and Continental cuisines. These capabilities may simplify coordination, but exact equipment, placement, access, and package inclusions still need confirmation. Start that conversation through its corporate events information.
8. Plan Load-In, Parking, and Exhibitor Movement Separately From Attendee Flow
Setup traffic and attendee traffic have different needs. Exhibitors may need to move displays, cases, signage, and technical equipment before guests arrive. Review that route separately so setup activity does not compromise entrances, exits, service areas, or finished booth presentations.
Document arrival timing, equipment staging, movement into the hall, and responsibility for changes. Confirm venue procedures instead of assuming the attendee entrance is also the load-in route. Identify where empty packaging, waste, catering supplies, and replacement materials will go.
Mississauga Convention Centre is at 75 Derry Road West in Mississauga, near major highways and Toronto Pearson International Airport, and states that it has approximately 700 on-site parking spaces. These facts may help with regional access, but organizers should confirm parking operations, exhibitor arrival instructions, and load-in arrangements with the venue.
9. Match the Layout to the Venue’s Scale and Configuration
Before promising booth locations, test whether the plan fits the selected room and the full program. Consider booth inventory, attendance, registration, sessions, food service, demonstrations, networking, storage, staff areas, and simultaneous activities.
Mississauga Convention Centre offers seven halls of approximately 4,250 square feet each and states that its total capacity exceeds 2,200 guests. These figures provide context for discussing a scalable venue, but they do not determine booth numbers or guarantee a particular trade show configuration. Confirm the appropriate hall, room combination, capacity assumptions, and service locations for the event.
A virtual venue tour can help teams visualize entrances, sightlines, and room relationships. Use it alongside venue drawings and an in-person review.
10. Conduct a Structured Venue and Exhibitor Review
Circulate the draft with specific questions instead of asking whether everyone likes it:
- Can a first-time attendee identify registration, the main route, exits, restrooms, food service, and key program areas?
- Are queues and demonstrations clear of booth fronts, primary aisles, exits, and service routes?
- Are related exhibitors placed logically, with visibility across the full floor?
- Has every exhibitor provided footprint, setup, power, AV, staffing, and access requirements?
- Are signage, booth numbers, landmarks, and maps consistent?
- Have accessibility, emergency access, venue procedures, and approvals been confirmed?
- Are load-in, storage, parking, catering, technical support, and staffing addressed separately from guest circulation?
- Who owns changes if an exhibitor cancels or a service requirement changes?
Use the venue’s answers to revise the plan, then send the updated version to exhibitors with a clear deadline for final comments. The Mississauga Convention Centre tour questions can support the broader venue review.
Trade Show Floor Plan Pre-Approval Checklist
- Event goals and attendee journey are documented.
- Entrances, exits, registration, aisles, restrooms, food service, and networking areas are mapped.
- High-demand destinations have space for queues and pauses.
- Exhibitor adjacencies reflect objectives and confirmed requirements.
- Sightlines, numbering, signs, and wayfinding have been tested.
- Accessibility and emergency-access questions have been reviewed.
- AV, lighting, staging, power, demonstrations, catering, and service areas are coordinated.
- Load-in, storage, parking, exhibitor movement, and attendee movement are planned separately.
- Room configuration and the event program have been confirmed.
- An owner and process exist for late changes and contingency decisions.
Conclusion: Approve the Plan Only When It Works for People and Operations
The best trade show floor plan is not simply the one that fits the most booths. It gives attendees a clear route, gives exhibitors appropriate visibility, preserves accessible and safe movement, and accounts for the technical and logistical work behind the event. Start with circulation, distribute destinations thoughtfully, use adjacency and sightlines deliberately, and test the plan with the venue and exhibitors.
Your draft is ready for venue review when you can explain how guests arrive, register, navigate, pause, discover exhibitors, access services, and leave, while also showing how exhibitors and suppliers will set up without disrupting that experience. To discuss a trade show layout and event requirements at Mississauga Convention Centre, contact the venue at 75 Derry Road West, Mississauga.