

 06 September, 2026
 Effective exhibitor load-in starts before any vehicle arrives. Build a documented plan that connects the floor plan, venue access rules, exhibitor information, contractor responsibilities, technical requirements, arrival windows, and booth-ready checks. Do not publish final move-in instructions until the venue confirms the access and operating details that affect exhibitors.
Mississauga Convention Centre provides a useful planning context for trade shows in the GTA. Located at 75 Derry Road West in Mississauga, near major highways and Toronto Pearson International Airport, the Centre has seven halls of approximately 4,250 square feet each, overall capacity for more than 2,200 guests, and approximately 700 on-site parking spaces. These facts help with early venue discussions, but they do not establish exhibition floor capacity, freight access, unloading rules, or vehicle storage arrangements. Confirm those details directly.
Step 1: Define the move-in scope before assigning times
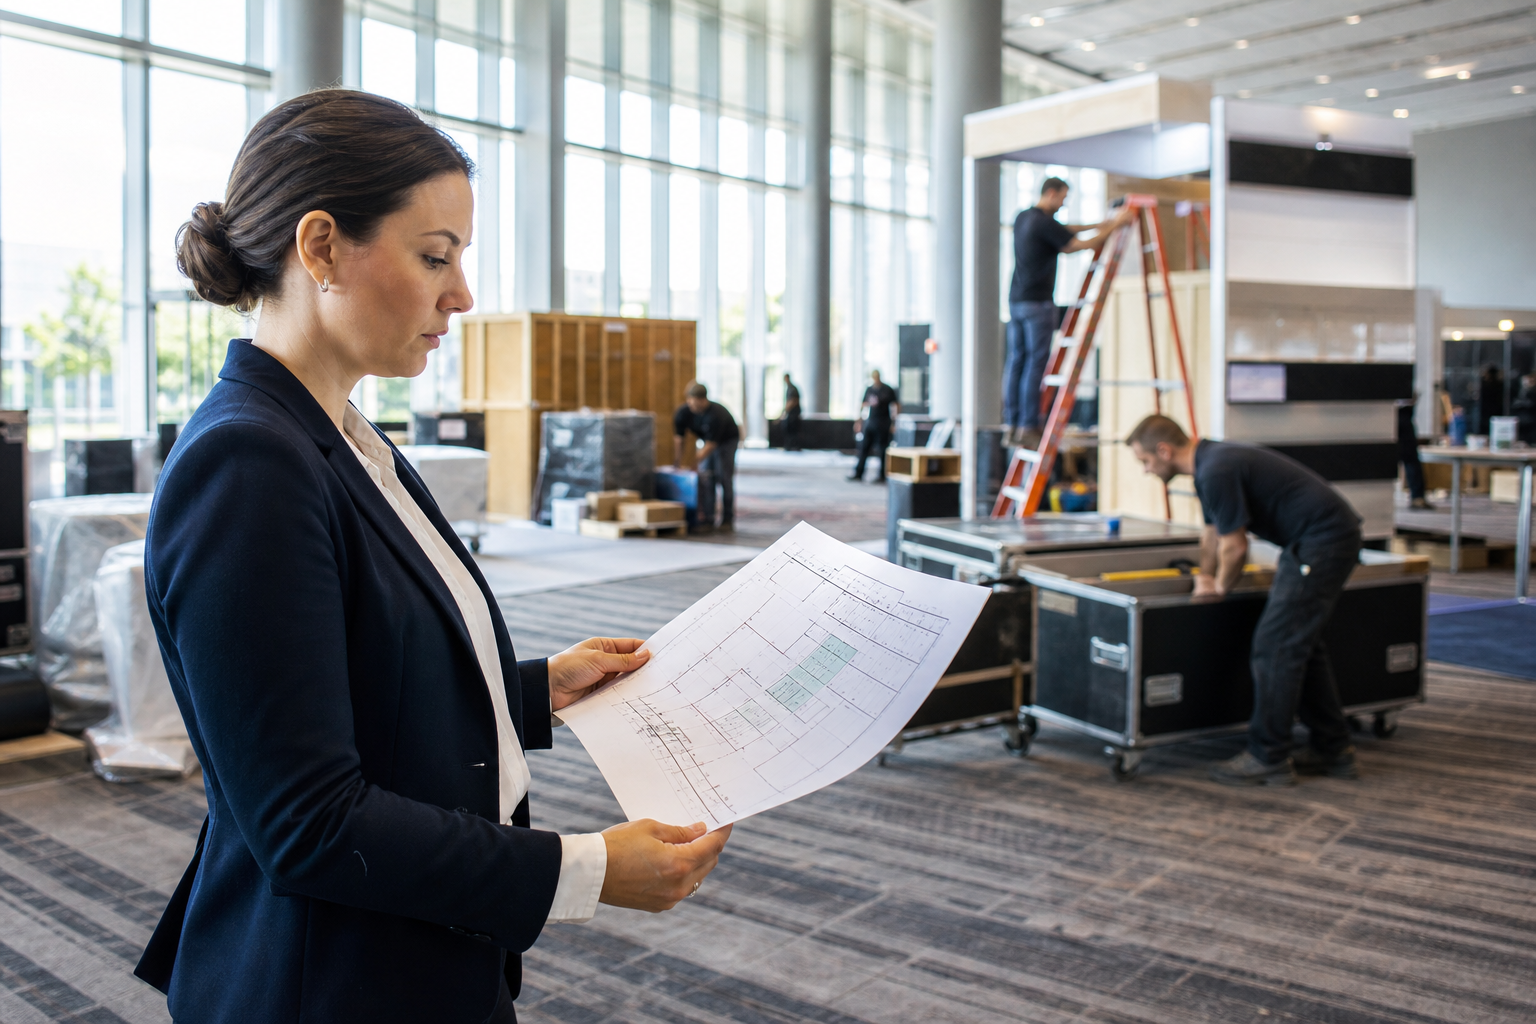
Record the event dates, move-in period, booth-ready deadline, halls under consideration, booth count, booth dimensions, display heights, signage, furniture, equipment, independent contractors, freight needs, and special handling requirements. Also list registration, storage, sponsor, demonstration, AV, lighting, staging, power, and internet needs.
Do not treat overall guest capacity as the number of available booth positions. Exhibition capacity depends on the approved floor plan, aisle widths, safety requirements, service areas, and booth mix. Use the trade show floor plan planning resource to structure the layout discussion, then have the venue review it.
Checkpoint: You should know what is arriving, who is bringing it, where it belongs, and when it must be ready.
Step 2: Confirm the venue’s access and operating rules

Ask the venue to confirm the procedures that apply to your event:
- Delivery locations, permitted times, appointments, and assigned windows.
- Vehicle size, waiting, unloading, parking, and departure restrictions.
- Freight handling, carts, storage, booth labour, or drayage availability.
- Floor protection requirements and equipment restrictions.
- Power, internet, security, insurance, emergency, and document requirements.
- Contractor procedures and setup responsibilities.
- Available AV, lighting, staging, and technical support.
Mississauga Convention Centre hosts trade shows and exhibitions and offers professional audiovisual systems, lighting, staging, and technical support. This makes technical planning part of the venue conversation, but it does not confirm a specific connection, device, or service level. Review the event venue selection checklist and raise each relevant question.
Checkpoint: Keep every item affecting vehicles, freight, safety, technical setup, or exhibitor responsibility in a written confirmation record.
Stop point: Do not publish exhibitor instructions yet
Pause if access procedures, operating limits, or responsibilities remain unclear. A provisional floor plan is useful internally, but exhibitors need instructions they can act on. An unconfirmed delivery route or parking direction can create congestion and conflicting expectations. Use the venue tour questions checklist to support a site review or planning call.
Step 3: Build one shared exhibitor information sheet
Collect information in one format so the operations team can compare exhibitors and assign practical windows. Include:
- Company, booth number, primary contact, and backup contact.
- Booth dimensions and display description.
- Delivery method, vehicle details, carrier, and contractor contact.
- Estimated setup duration and earliest booth-ready time.
- Equipment, furniture, signage, samples, and special handling needs.
- Power, AV, lighting, staging, internet, and testing requirements.
- Required documents and the method for reporting delays.
Ask exhibitors to update the sheet when plans change. Corporate packages and technical services may simplify coordination, but inclusions must be matched to the individual event. The Centre’s corporate events information can help frame that discussion.
Step 4: Assign arrival windows that match the floor plan
Sequence exhibitors according to booth location, freight size, assembly complexity, setup duration, contractor or technical dependencies, shared equipment, and the deadline for completing each zone.
Tightly scheduled windows provide visibility and reduce simultaneous arrivals, but they have less tolerance for late vehicles or unexpected setup time. Broader periods are more forgiving but can hide congestion and resource conflicts. Choose the approach that fits the confirmed venue process and floor plan. Give every window a named owner, booth area, arrival instructions, setup contact, and escalation route.
Checkpoint: Test the schedule against a late arrival, contractor delay, and technical issue. If one disruption affects the entire floor, add contingency or revise the sequence.
Step 5: Coordinate the floor plan with access routes and technical needs
Review booth placement alongside public aisles, freight routes, registration, storage, demonstrations, sponsor zones, staging, AV positions, power locations, and contractor work areas.
The Centre’s seven halls of approximately 4,250 square feet each provide useful context when discussing room assignments. They do not confirm that halls can be combined, used simultaneously, or arranged in a particular exhibition configuration. Have the venue review the working plan and service assumptions. Venue information can support the conversation, but it is not a substitute for an approved layout.
Checkpoint: Mark areas where freight movement, construction, technical testing, or public access could conflict and resolve them before final scheduling.
Step 6: Make responsibilities visible
| Area | Responsible party | Confirm before move-in |
|---|---|---|
| Exhibitor information | Organizer and exhibitor | Booth details, contacts, equipment, and arrival information are complete. |
| Booth construction | Exhibitor or contractor | Labour, tools, setup sequence, and access are approved. |
| Freight and delivery | Exhibitor, carrier, or freight provider | Delivery, handling, vehicle, and storage arrangements are confirmed. |
| AV, lighting, and staging | Exhibitor, provider, and venue as agreed | Equipment, connections, testing, and contacts are documented. |
| Floor supervision | Named operations lead | Arrival logging, escalation, and booth checks have owners. |
Confirm exactly which responsibilities the venue will accept. A listed AV or technical service does not automatically include every installation or operating task.
Step 7: Separate attendee parking from move-in access
The Centre has approximately 700 on-site parking spaces and is near major highways and Toronto Pearson International Airport. This supports general accessibility, but parking capacity is not a freight plan. Ask where delivery vehicles may approach, wait, unload, and leave; whether vehicles may remain during setup; how contractor and passenger vehicles are separated; and what instructions belong in the exhibitor brief.
Do not direct exhibitors to use general parking for freight unloading or storage unless the venue has explicitly approved it.
Step 8: Confirm technical handoffs
For every AV, lighting, staging, power, or internet requirement, record what the exhibitor is bringing, what the venue or provider may supply, where it will be installed, who handles testing and troubleshooting, when testing occurs, and who must be present.
Do not promise a particular connection, electrical arrangement, internet service, or device without confirmation. Schedule testing before the booth-ready inspection.
Checkpoint: Every technical item needs a confirmed provider, test time, and day-of contact. Mark it unresolved if any is missing.
Step 9: Send one clear move-in brief
Give exhibitors one authoritative document containing move-in dates and times, booth numbers, floor-plan references, confirmed access instructions, vehicle and parking rules, equipment and floor-protection requirements, required documents, contractor and technical contacts, late-arrival instructions, escalation details, and the booth-ready standard.
Distinguish confirmed rules from pending approvals. Before distribution, compare the brief with the latest venue confirmation, floor plan, technical list, and arrival schedule. Do not send it if those documents disagree.
Step 10: Manage move-in with a live status process
- Log each exhibitor or contractor on arrival.
- Record booth, contact, status, and missing information.
- Route questions through the named escalation contact.
- Walk the floor and compare progress with the schedule.
- Track delays, technical issues, access conflicts, and safety concerns.
- Update affected exhibitors when timing or routes change.
Keep the issue log factual and assign every open item an owner and next action. This provides visibility without assuming a particular dock system, unloading duration, staffing model, or freight service.
Step 11: Verify each booth before opening
- Structure, signage, furniture, displays, and equipment are in place.
- Power and agreed technical elements have been tested.
- Aisles and required access routes are clear.
- Packaging and waste have been handled as directed.
- Safety or access concerns have been reported and assigned.
- The exhibitor or representative has accepted the booth condition.
Separate issues that must be resolved before opening from cosmetic or administrative items that can wait.
Exhibitor checklist for move-in day
- Confirm your booth number and arrival window.
- Provide primary and backup contacts.
- Follow confirmed delivery, access, parking, and equipment instructions.
- Bring only approved equipment and materials.
- Confirm technical and testing needs in advance.
- Keep aisles and shared routes clear.
- Report delays or missing information promptly.
- Complete the booth-ready check.
Final venue-confirmation checklist
Before finalizing the schedule, confirm loading access, delivery procedures, vehicle restrictions, unloading and departure rules, floor protection, freight handling, storage, power, internet, AV, lighting, staging, contractor requirements, security, insurance, emergency procedures, parking directions, and restrictions affecting the floor plan. Every item is confirmation-dependent. The site-visit checklist can help organize the discussion.
Final decision: finalize the schedule only after confirmation
Strong exhibitor load-in strategies define the scope, validate venue constraints, collect consistent information, assign arrival windows, coordinate the floor plan, clarify responsibilities, separate parking from freight access, confirm technical handoffs, issue one brief, manage live status, and verify booth readiness.
For a trade show at Mississauga Convention Centre, its accessible Mississauga location, seven halls, approximately 700 parking spaces, exhibition experience, and in-house technical services provide useful planning context. They do not replace confirmation of loading, freight, storage, safety, technical, and contractor requirements.
Once those details are confirmed, contact Mississauga Convention Centre to discuss trade show space, technical support, and your event requirements.